This article shows you how to create comprehensive and easy to follow meal plans for your clients.
To create a meal plan for your clients, start by clicking the More button on the bottom right portion of your screen. (See image below.)
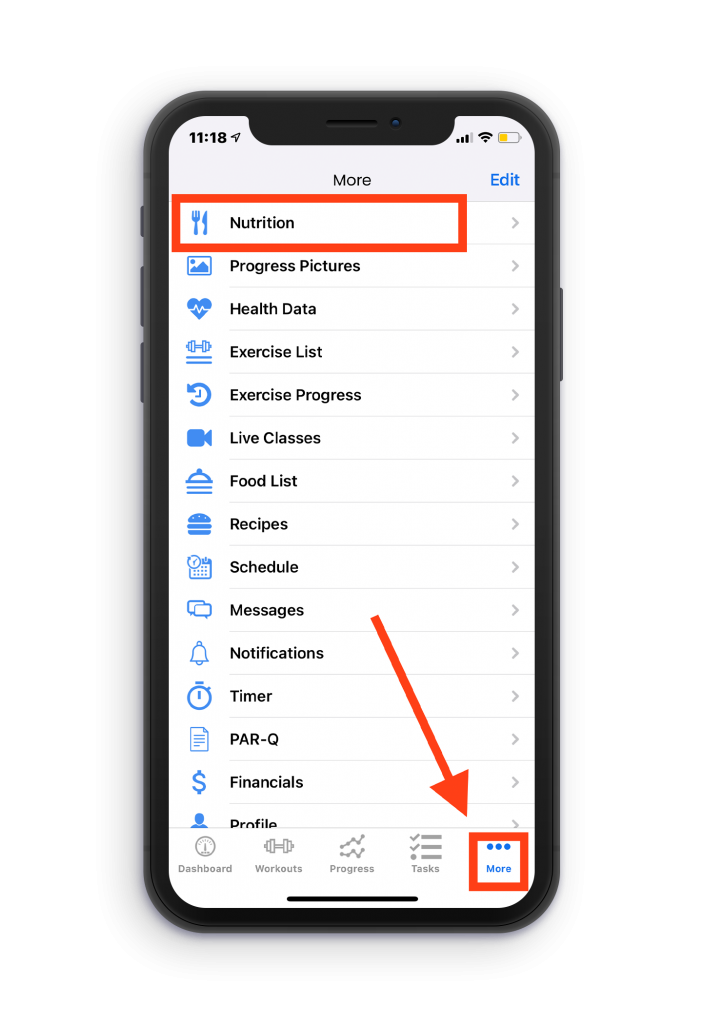
Once you are on the More page, click on the Nutrition category.
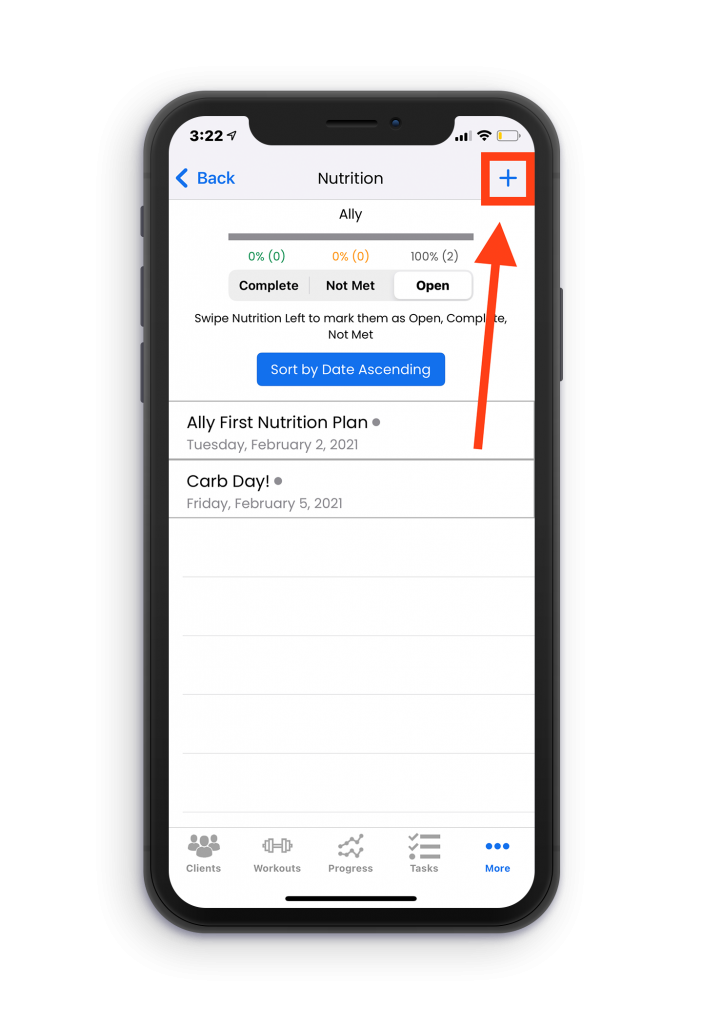
Once you are on the Nutrition screen, select a client you would like to create a meal plan for. If you would like to add a meal plan to your favorites, or create a meal plan for all of your clients, simply scroll to the bottom of the Nutrition screen and create the meal plan under the categories My Favorites or All Clients.
Once you have selected a client, or are in the My Favorites or All Clients section of the nutrition screen, click the + button in the top right portion of your screen. (See image below.)
The next screen that comes up is where you will enter data such as the nutrition name, the start date of the nutrition, whether you want this nutrition to be a single event or repeated daily/weekly, any additional notes, and where you will add all the foods in the meal plan. Once you have entered all of this information and all the foods you want to be on the meal plan, click Edit in the top right corner of your screen. (See image below.)
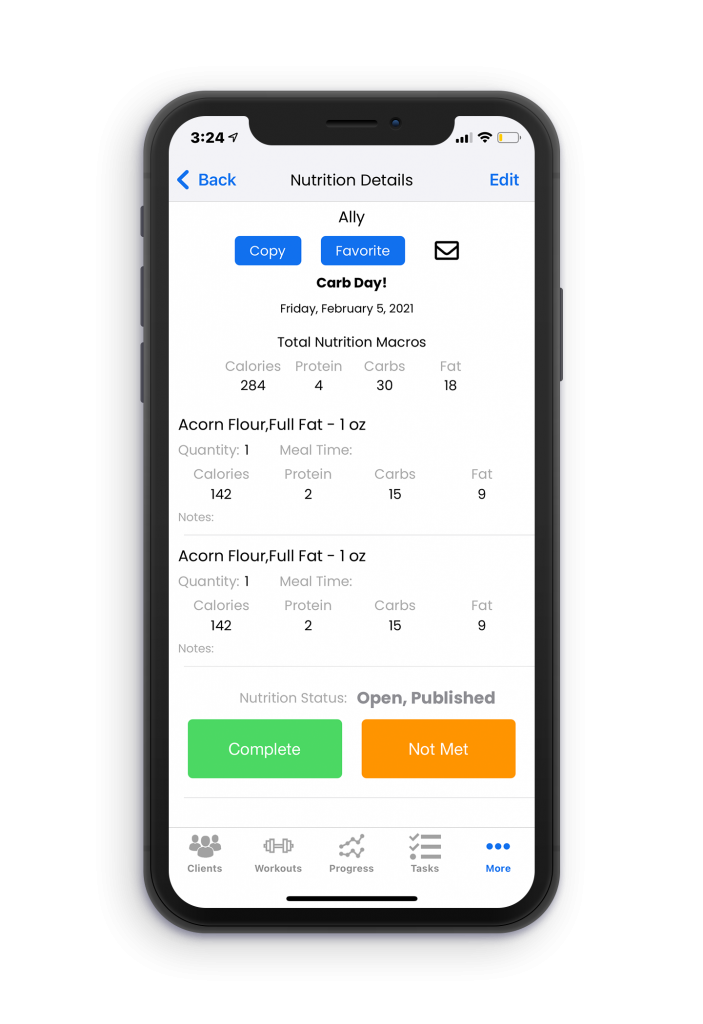
Once you have clicked Add, your nutrition will now be saved to either a specific client, all clients, or to your favorite nutrition list. You can easily copy or email nutrition by clicking the Copy Nutrition or Email Nutrition buttons when you are in a meal plan that you created.